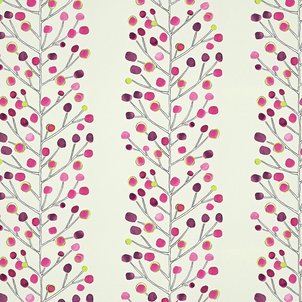
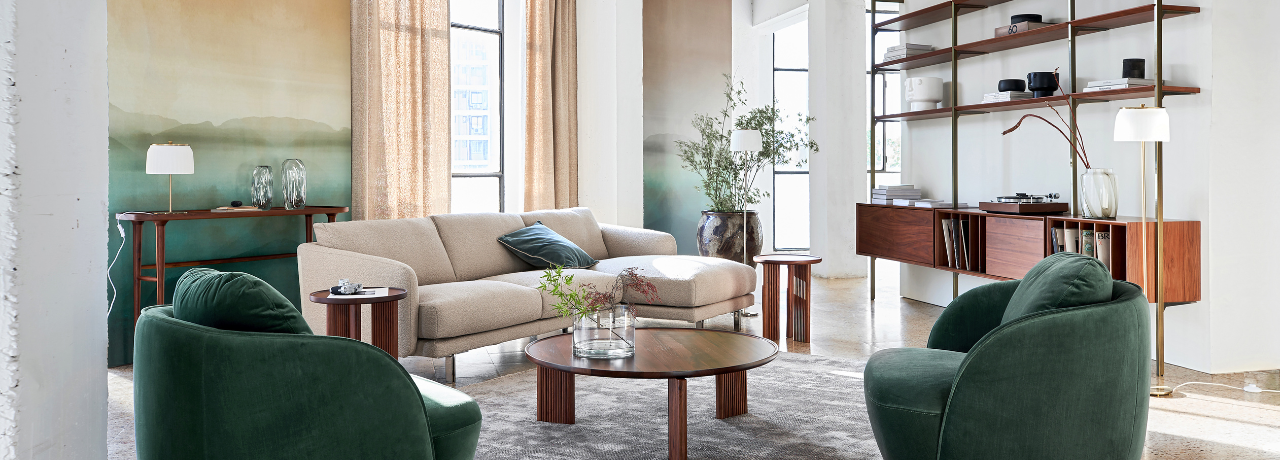
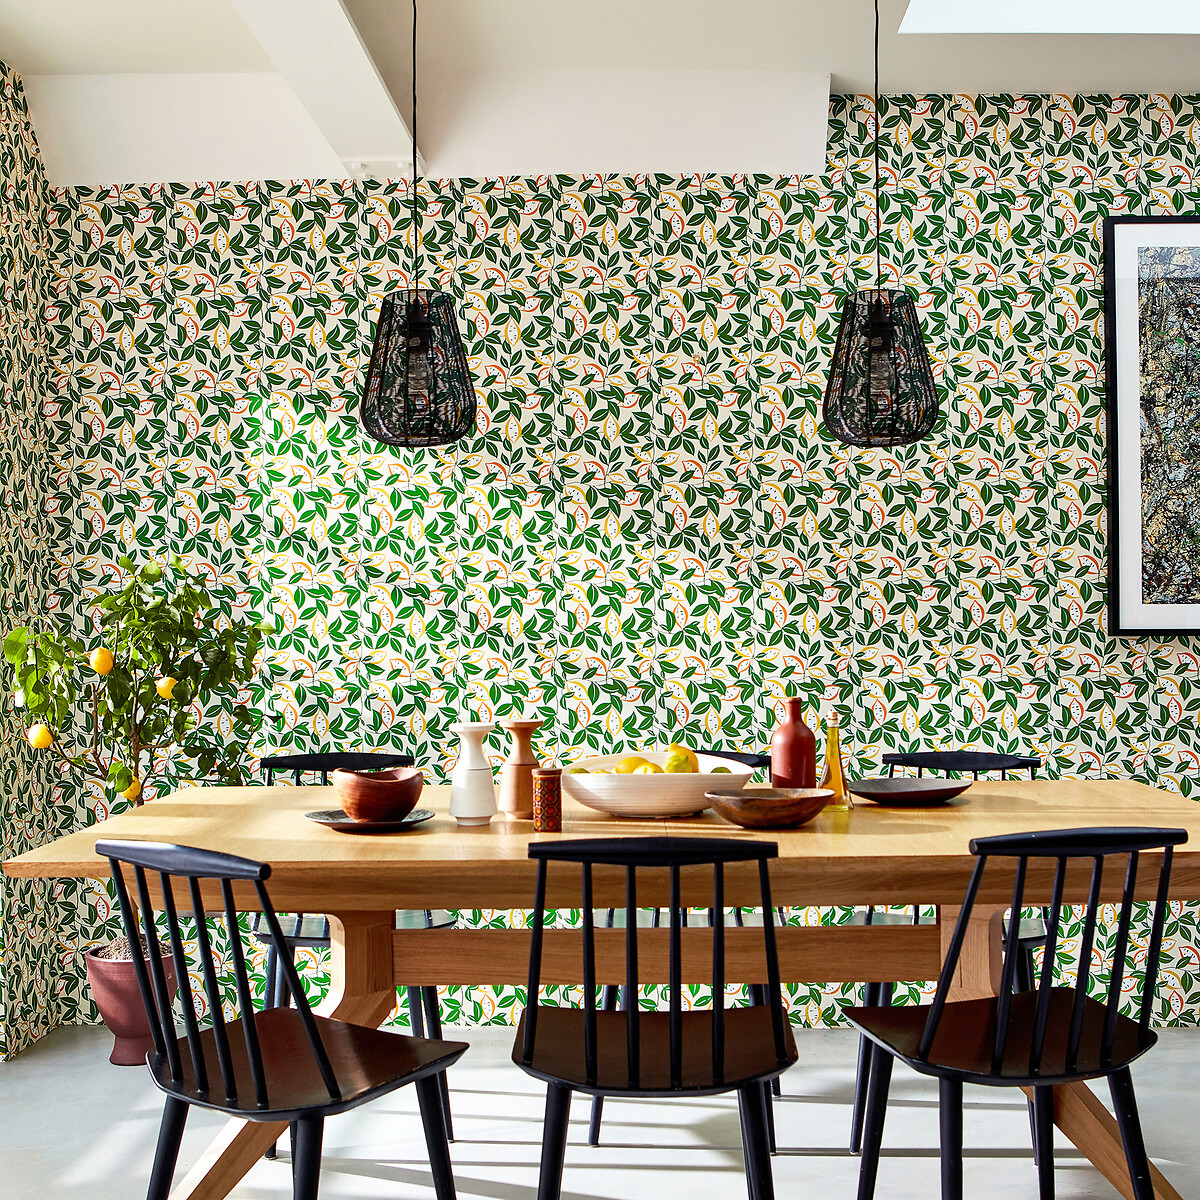
A beautifully wallpapered wall can transform any room - if you know the tricks of the trade. Wallpaper can create a stunning impression or a subtle accent to any room. The selection of styles and colours is truly vast and allows you to introduce an intricacy to your design that is rarely achieved with paint alone. In just a few hours you can reinvent any room with gorgeous walls that bring your interior decorating style to life.
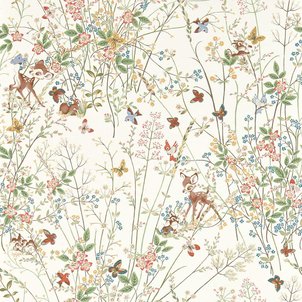
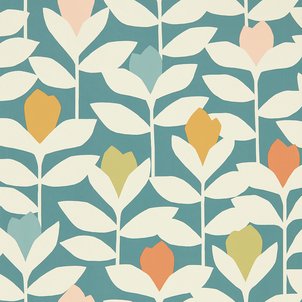
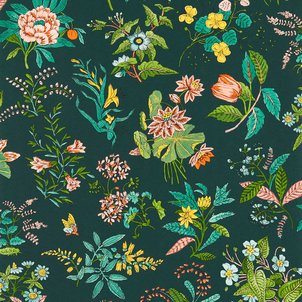
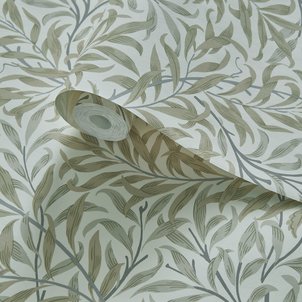
From statement florals to understated geometrics, there's a wallpaper to suit every taste and every room. Think rich velvets, sleek metallics, classic stripes, and everything in between. If you're ready to give wallpapering a go, we’re here to help. This step-by-step guide will walk you through everything – from prepping your wall to the final smooth-down – so you can decorate like a pro.

What you'll need
Begin your wallpapering project with all the supplies you'll need to complete the process from start to finish. This checklist will help you assemble the right supplies for how to install wallpaper of both styles. If you're removing wallpaper as well as hanging it, consider hiring a steamer to make the job much quicker and easier.
Prep and general supplies
-
Sponge or cloth
-
Gentle cleanser
-
Drywall putty / spackle
-
Standard level or plumb line
-
Measuring tape
-
Razor knife or scissors with extra-long blades
-
Pencil
-
Steel ruler or straight edge
-
Primer (if needed)
Traditional wallpaper hanging supplies
-
Wallpaper rolls
-
Wallpaper paste
-
Bucket or paint tray
-
Paste brush or roller
-
Plastic smoother or wallpaper brush
Peel-and-stick wallpaper supplies
-
Peel-and-stick wallpaper rolls
-
Plastic smoother
How to prepare your wall for wallpapering
Proper wall prep makes all the difference. A clean, smooth surface helps wallpaper stick better – and stay up for longer.
Cleaning the surface
Start by cleaning your wall with a soft cloth or sponge and a light detergent mix. A dash of dish soap in your cleaning water will do the trick. Wipe down your entire wall to remove dust or grime that might hinder the adhesive.
Tip: use a Swiffer with a cloth attached for easy ceiling-to-floor wall cleaning.
Fill and smooth
Make sure there are no bumps or holes in your wall. You can use a putty knife or sandpaper to smooth away bumps on the wall. Use putty or spackle to fill holes. Then wait for the putty to dry and sand it smooth.
For very uneven walls, consider using a lining paper before hanging your wallpaper. A thicker lining paper will smooth out the surface, creating the perfect foundation for your wallpaper. Make sure to push out any bubbles with a wallpaper smoothing tool, and ensure the paper is fully dry before putting anything on top of it.
Apply primer (if necessary)
In certain conditions, applying a layer of paint primer can ensure your wallpaper has the highest-quality adhesion. These conditions include bare drywall, dark paint, latex paint and a previous layer of wallpaper. Primer provides a textured, clean, and adhesion-ready surface.
How to apply traditional wallpaper
How do you apply wallpaper to your wall once it is prepped? Traditional wallpaper requires careful measuring, paste and smoothing to get it right. We'll walk you through each step to help you achieve a beautiful wall every time.
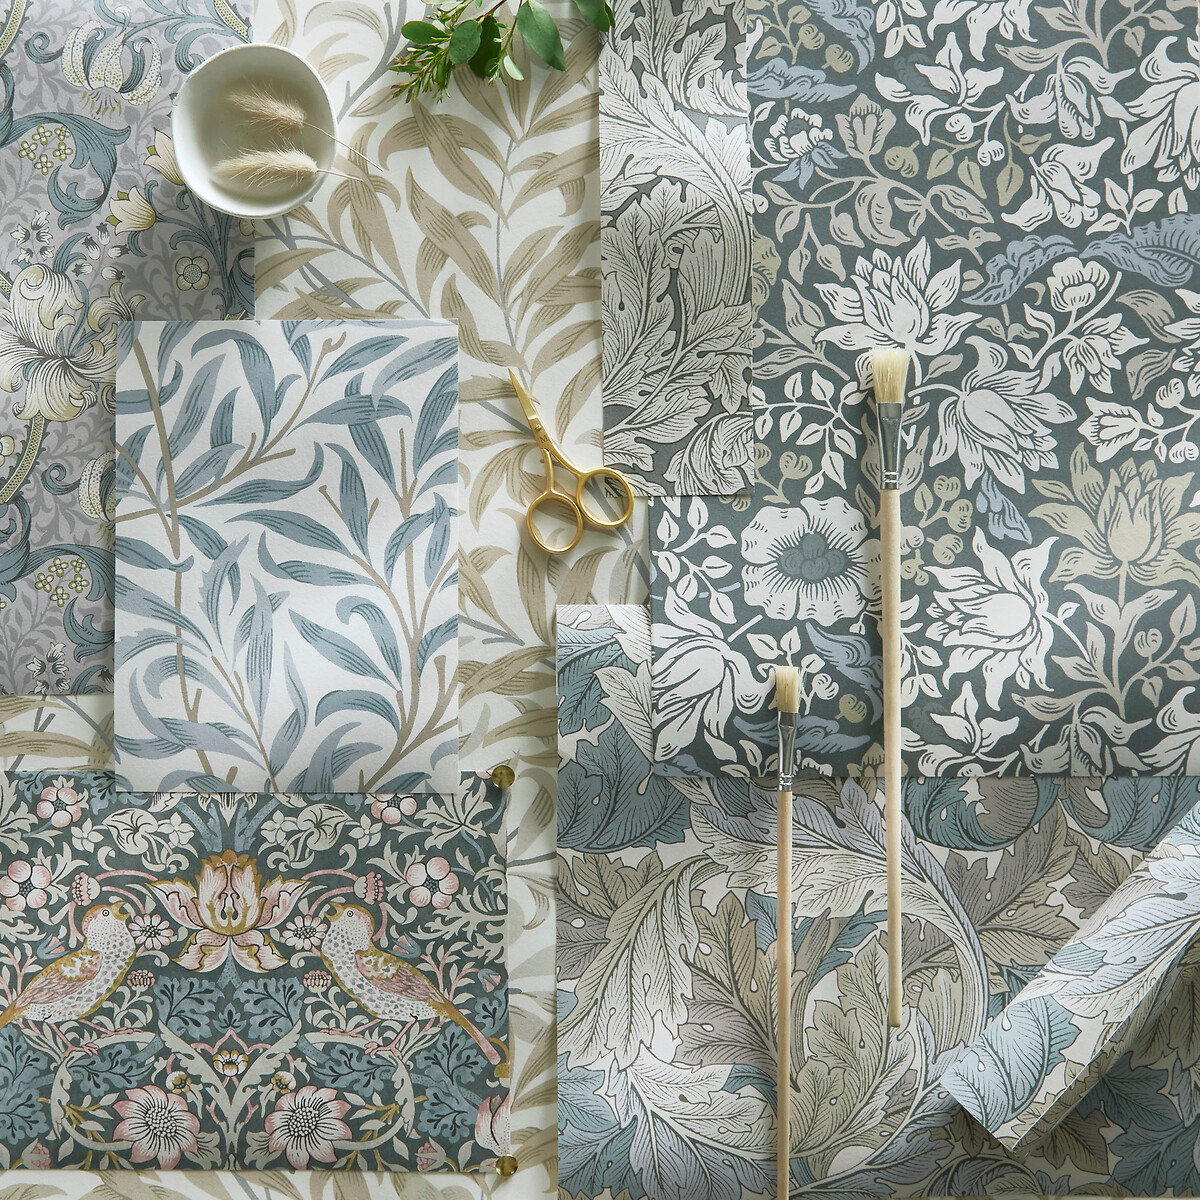
1. Choose your wallpaper design
Choosing the right wallpaper for each room should be inspired by the room itself and your vision of the perfect decor. Explore ideas like the room's features, decoration style and colour palette to guide your selection.
Before deciding which style you want to go with, it would help to consider the following:
-
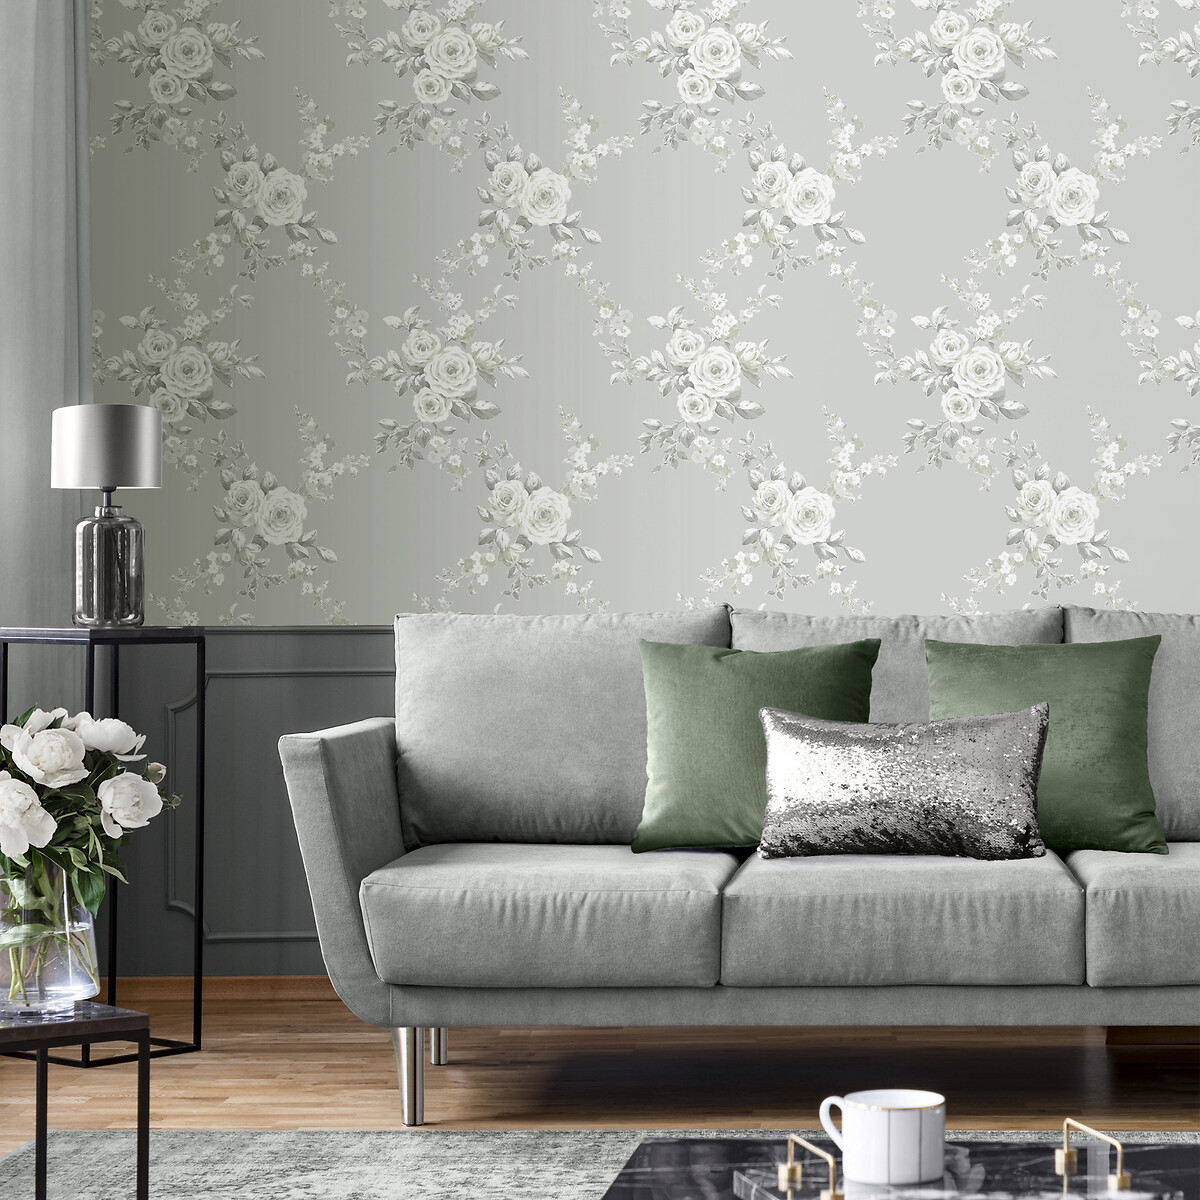
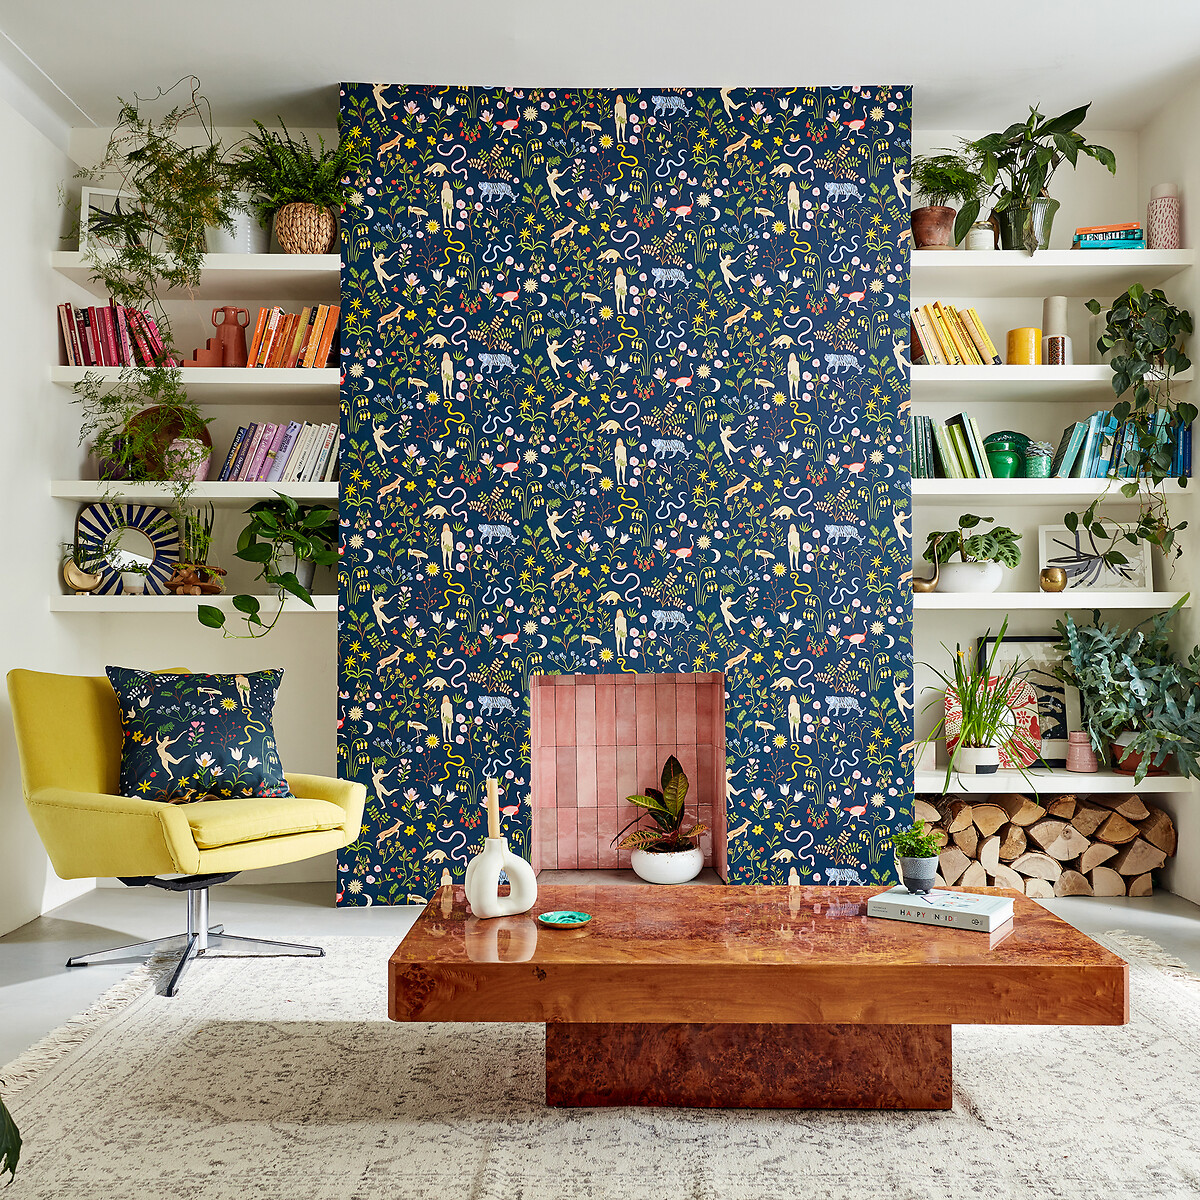
Function: a soothing print suits a bedroom, while bold designs work well in social or creative spaces.
-
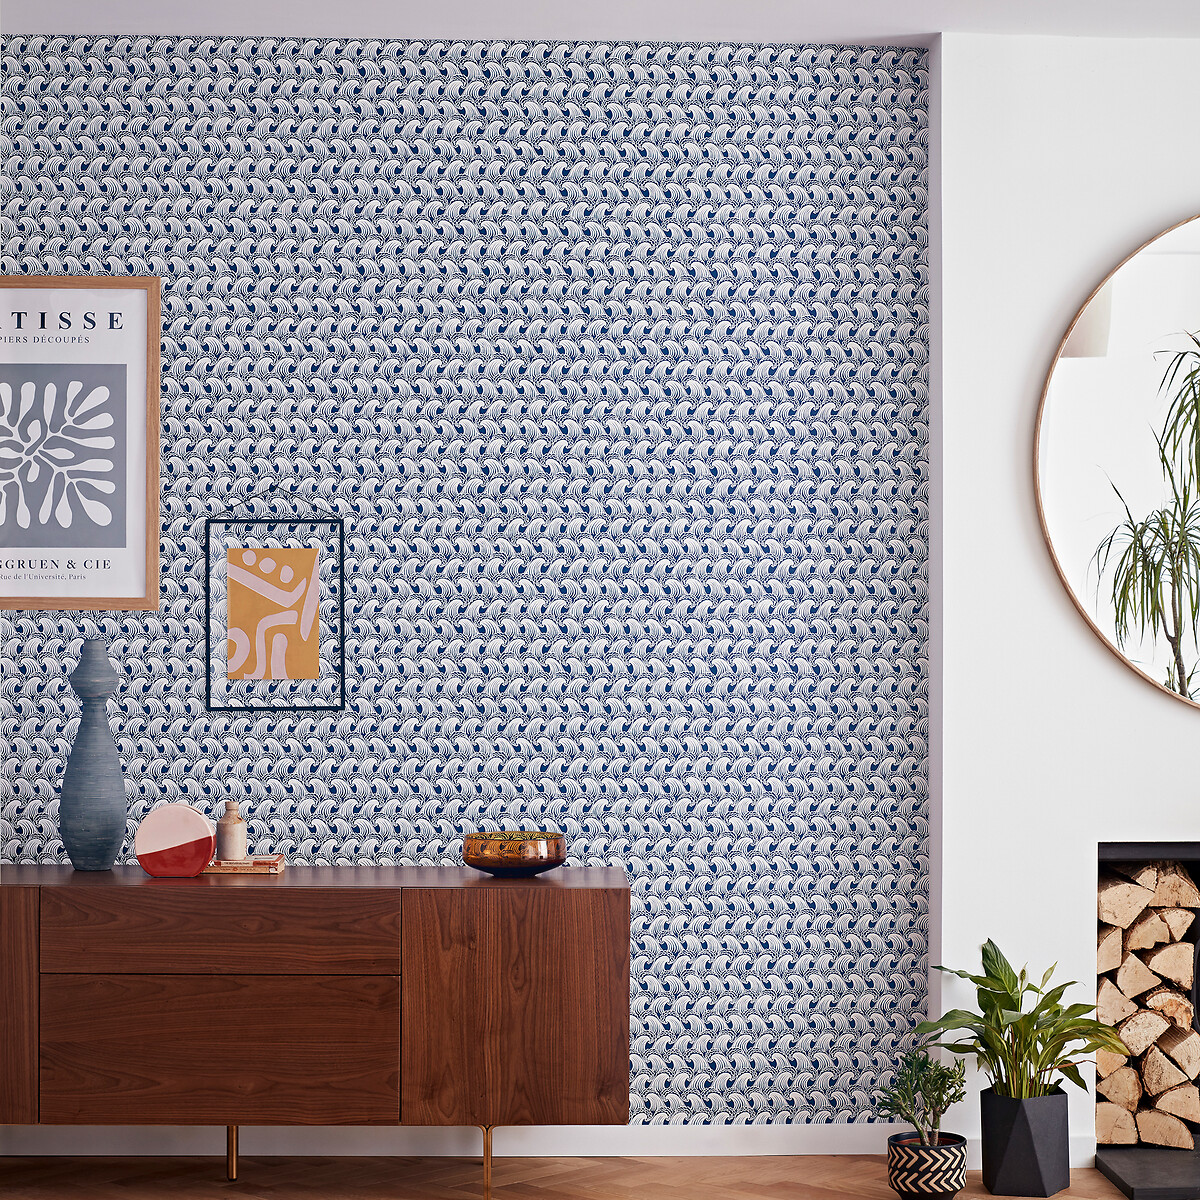
Size: small rooms often benefit from delicate patterns, while larger spaces can handle something bolder. Use your room size to determine how much wallpaper you need.
-
Lighting: bright, airy prints help lift a darker room. Save deeper tones or metallics for well-lit areas.
2. Measure and cut
Measuring and cutting should be done with care. This will determine the overall quality of your wallpaper appearance. Consider the exact placement of the pattern and how to ensure it aligns all the way around the room. Remember: always measure twice and cut once.
-
Measure your wall height, adding around 10 cm for trimming.
-
Cut your first strip, and use it as a guide for the rest – lining up the pattern as you go.
-
Mark the top of each strip on the back to avoid hanging them upside down.
-
Use a pencil and straight edge to mark where to cut, then trim cleanly with scissors or a knife.
3. Apply paste (and how long to let it soak)
Pasting is the tricky part for most people. This stage ensures that your wallpaper goes up smooth and stays in place.
Lay each strip face down on a clean surface. Paste from the centre outwards to the edges. Don’t overload with paste, and wipe off any excess from the patterned side with a damp cloth.
Alternatively, apply paste directly to the wall if your wallpaper allows it – just check the label.
4. Hang the paper
Use a plumb line to mark a straight vertical line on the wall as your guide. Hang the first strip with a 5cm overhang at the top. Press it into place and smooth it from the centre outward with a wallpaper brush or smoother.
Around switches & sockets
-
Loosen the front plate. Let the wallpaper fall over the switch, then mark and cut an opening. Smooth the edges under the plate and reattach.
5. Match the pattern
Wallpaper typically comes in three match types:
-
Straight match – pattern aligns straight across. Easy to hang.
-
Random match – no fixed pattern – great for casual or abstract designs.
-
Drop match – the design repeats diagonally. Offset each strip by half the pattern repeat (usually listed on the roll label).
6. Smooth and trim
Before the paste fully dries, you have the opportunity to perfect your work with a final wave of smoothing and trimming to ensure your wallpaper neatly fits the wall space with no bubbles or overlay.
Smooth the paper
-
Use the plastic smoother to press the paper from the top down.
-
Move methodically from the top-left corner of each wall to the bottom-right corner, smoothing from the top with each pass.
Trim the edges
-
Use your razor or long-bladed scissors to cut any excess off the bottom and edges of your wallpaper design.
Once you've got your wallpaper hung, step back and assess – can you spot any bubbles or creases? Is your pattern straight, have you trimmed off all the excess? Use a smoothing tool or wallpaper brush to go over each wall for that professional finish, then give yourself a pat on the back for a job well done!
How to apply peel and stick wallpaper
Peel and stick wallpaper is applied in a similar fashion to traditional wallpaper. Many of the early steps are the same, such as prepping the wall, marking your straight line and cutting pattern-matching strips. The only difference is that you'll be managing backed adhesive instead of applying a liquid paste.
Here's what's different about how to install peel and stick wallpaper:
1. Prep and plan
Just like with paste wallpaper, make sure your wall is clean and smooth. Mark a vertical line to guide your first panel.
2. Apply carefully
-
Line up your panel and pin or hold the bottom section in place.
-
Peel back 5–10cm of backing from the top and fold it under.
-
Press and smooth the exposed section to the wall using your smoother.
-
Gradually peel away more backing while smoothing the wallpaper downwards as you go.
Never peel off the whole backing at once – it’s nearly impossible to control and increases the risk of bubbles or creases.
Tips for renters
If you are decorating a rental, peel and stick wallpaper can be a great choice. There are a few extra steps you can take to ensure the wallpaper comes away clean and you get back your security deposit.
-
Choose a removable model. Not all peel-and-stick wallpaper is easily removed.
-
Pin up paper first, and apply the wallpaper to the pinned paper. A few small nail holes are easier to deal with than too-sticky wallpaper when it's time to move.
Common mistakes to avoid
Wallpapering can be tricky, and there are a few common mistakes that most beginners can make. Knowing what these mistakes are can help you avoid them.
Bubbles
Your smoother is an essential tool in preventing bubbles. Always smooth from the top down and from left to right, slightly overlapping your last smoothing pass. This will press bubbles out of your paper before the past dries.
For peel-and-stick wallpaper, smooth as you stick.
Mismatched patterns
Measure twice, cut once. Carefully plan each panel to ensure your patterns match.
Poor adhesive
Prepare your wall so it's clean and smooth. Then use the right amount of paste and try to avoid removing a panel to re-stick it.
With peel-and-stick wallpaper, the best stick is the first one. Try to get your placement exactly right the first time.
How do you apply wallpaper FAQs
How do I apply wallpaper to a wall?
Carefully measure and cut. Then use paste or peel-and-stick wallpaper to carefully align and press the paper to the wall. Smooth to remove bubbles.
Can I wallpaper over paint?
Yes, but not fresh paint or latex paint. If necessary, apply a primer and wait for it to dry.
Do I need to match the pattern perfectly?
It depends on how you want your wall to look.
How to remove wallpaper if I make a mistake?
Steaming is the traditional way to remove a panel of wallpaper.
When you're done wallpapering a room, a job well done is its own reward. Your room will have a beautiful pattern and colour palette hand-picked to complement your interior decorating style.
You can find the perfect wallpaper pattern in La Redoute's stunning wallpaper selection. With this guide, you can get started on hanging your own wallpaper with confidence and soon-to-be-earned skill.